summary

Cooking without a safety net

Thursday, March 28, 2013

Budget backpacking 2

Since the possibility first arose, I've gotten very excited about backpacking this year.  I've reached a point where I can't go into a grocery without looking for dried veggies, meats which require no refrigeration, and meal options that can cook on a stove in under ten minutes.

Some of this runs counter to how I usually buy groceries.  I like to get ingredients, and make everything myself.  I like to take my time, toy with seasonings, and fill the apartment with food smells I can't actually appreciate myself.  I don't like "just add water" microwave meals.

When you go backpacking, you usually cook with a single, small stove burner.  You have to carry all the fuel it needs, so you want that stove to run as little as possible.

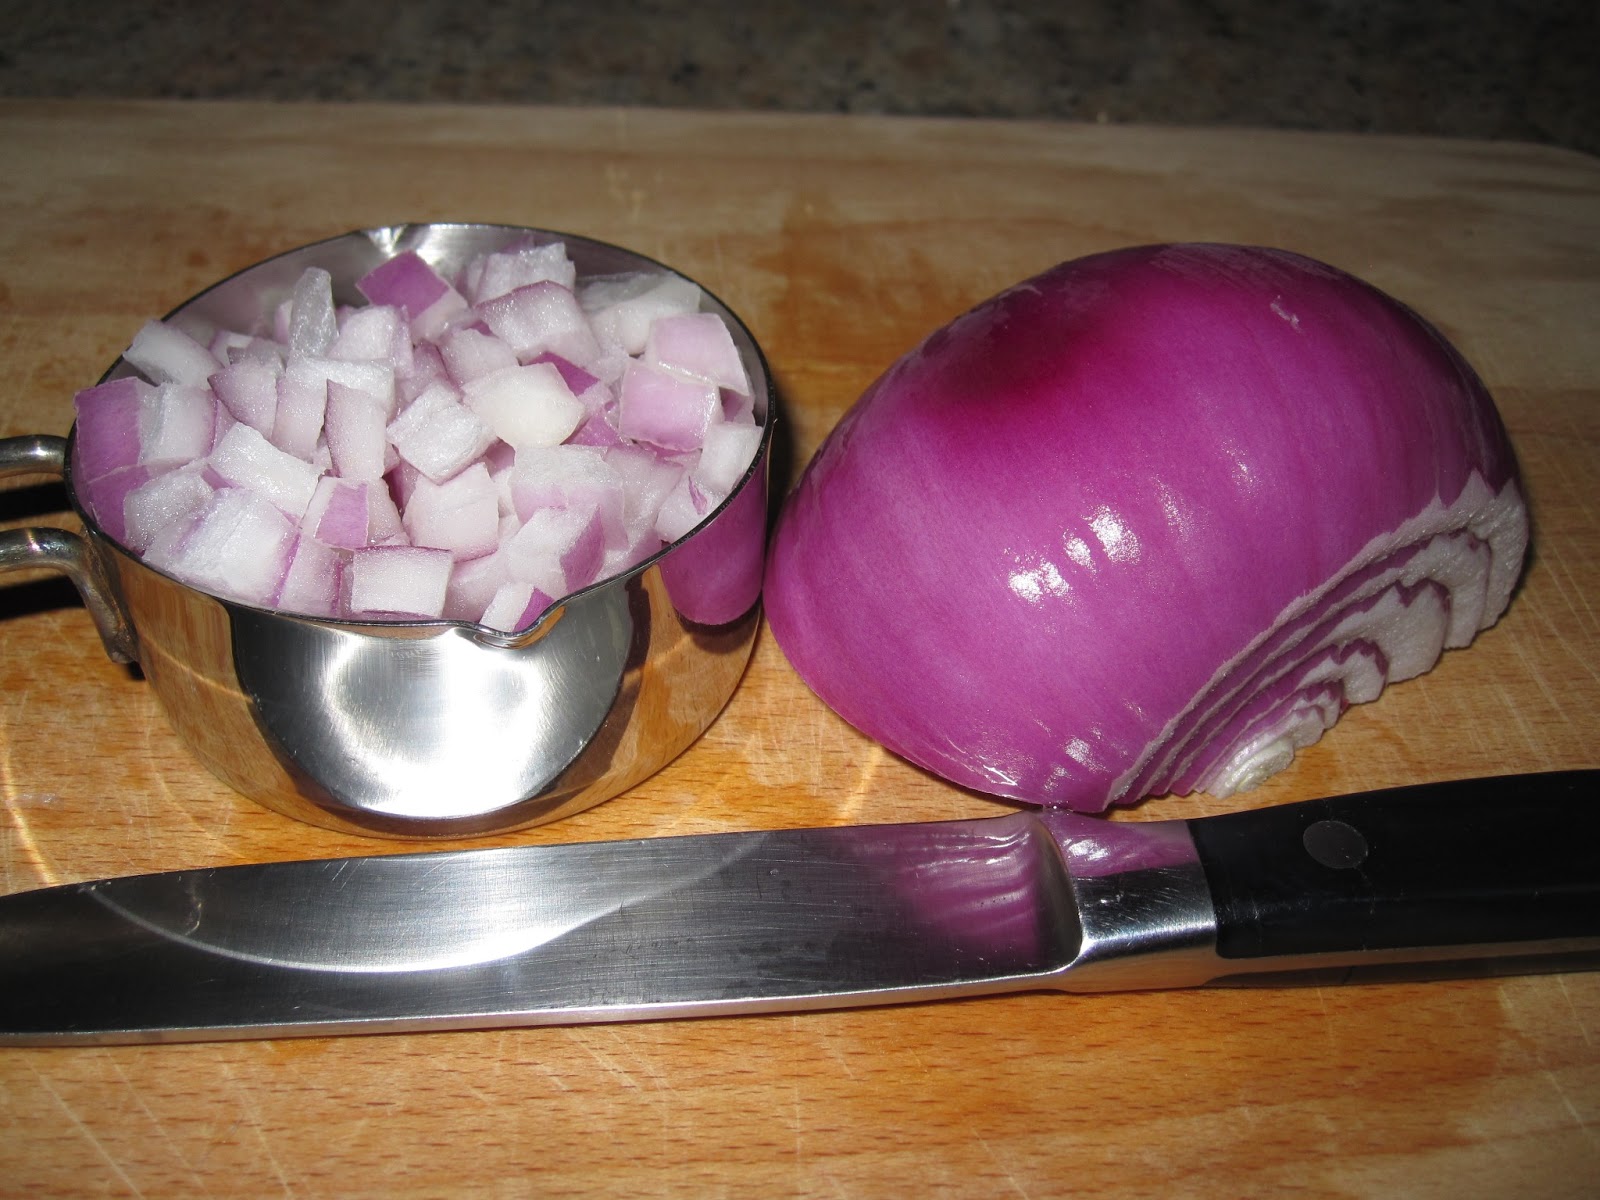
You have to carry all your food with you (or at least enough to reach your next resupply point), so you aren't going to take a full spice cabinet, though you might get a small container to carry some of your favorites.

Finally, your energy needs are vastly different.  These days, groceries and food companies are so engaged in trying to help people be healthy that everything you find--especially most of the "instant" or nearly-instant foods--are low fat, low calorie, though still high in sodium.  I was poking around the grocery this morning (the morning of the writing, though not necessarily of the posting) doing something I've never done before: reading nutritional labels.

Inclusion of these items in this post does not connote endorsement, nor any statement on their nutritional value; it's just the stuff I wanted to screen-test before planning a long-term backpacking menu.
Backpackers want foods with a high calorie to weight ratio (but not just straight butter--we need high nutritional value, too).  I looked at six different bulk granolas before selecting one that had decent amounts of carbs, proteins, calcium, and calories, with a much lower price than another option which was slightly higher in some of those nutritional areas.  There was another with dried strawberries and good nutritional scores, but it was labeled as "low-fat," and I paid it no more attention.  That sort of thing might be ok at home, but I was shopping for trail food.

I was thrilled to find bags of freeze-dried veggies from Just Tomatoes in the store.  These add high doses of vitamins A and C, and also provide iron.  After a quick soak, they can be added to soups, rice dishes, or noodles to help round out what would otherwise be a rather bland side dish.  The downside: they probably won't be available at every little grocery along the trail.

The rice dish shown offers B vitamins, iron, protein, and carbohydrates.  It makes about 2 cups, and could serve as the basis of a dinner on the trail for $3.50.

The beef stick and buffalo jerky are partly for packable protein, but mainly for morale.  They're tasty, dammit, and backpackers can not live on rice alone.  One of my clearest memories form the first backpacking trip I took as a kid was the foods we missed.  Mom wanted fresh vegetables.  My aunt wanted a beer.  I wanted bread, and a glass of milk.  All of us wanted real meat.  My brother and I opined about large cheeseburgers.  Mom and my aunt wanted steaks.  I don't know why we didn't have any jerky on that trip.  Yes, it runs a little high price-wise, but as a treat every few days, it's a good option.  You'll probably get more thirsty, but as long as you can easily replenish your water, that's not bad.

Morale food is important.  Even at home, when I can make anything I want, I sometimes just need a cookie, full of chocolate chips.  When I get it, I feel better.  Cookies don't always travel well, and you can't make more on the trail whenever you need them, but if you can plan ahead with a few treats to get you through long days, it makes a long trek much easier.

Thursday, March 21, 2013

Budget backpacking

I'd like to do a little backpacking this summer (the trips will be documented elsewhere), and as it's been a while since my last serious backpacking trip, I need to give lots of thought to food options.  I found this excellent article on how to breeze through the grocery and grab everything you need for a healthy, hearty weekend.

I'm not sure I've ever been able to breeze through a grocery unless I knew exactly what I needed to buy.  I like to do a lot of cooking from scratch, so hunting down instant food options was significantly outside the realm of my experience.

There were a couple items I needed as ingredients for recipes I wanted to try, and lots of sources suggest powdered milk for use on the trail (I've never used it, so I'm going to give it a shot).  After that, I just wandered aisles looking for anything remotely appetizing that satisfied two conditions:

  1. cooked quickly and easily, requiring no perishable ingredients
  2. was on sale
As luck would have it, a lot of stuff was on sale, but the last day of the sale was the day of my shopping excursion, so I grabbed a few items that I thought might work, and decided if they passed the test, I'd keep my eyes open for future sales, when I would stock up ludicrous volumes.  I figure it will keep for ages, and most of it will pack pretty well.


Now it's time for Test Mode.  I get to try this stuff, decide whether it's any good, and figure out any way I might be able to improve it while on the trail.  Hopefully, by adding some sort of meat and vegetable.  Check back for the test results, especially if you're a backpacker or just a really lazy cook.  No judgement on either of those.

Thursday, March 14, 2013

How To: Grease a pan

This seems like a silly thing to describe, but it took me a little while to figure out the trick.  If someone had told me, I would have had much better early success with pound cake and bread from loaf pans.

I don't use cooking spray.  It's probably because when I was but a wee lad, CFCs were a big concern and ozone depletion was still a hot-button topic.  These days, most spray cans proudly declare themselves CFC-free, but I'm still in the habit of avoiding them.

Besides, it's just one more thing in the cabinet, and we have a small kitchen.

Crisco solid vegetable shortening (or your favorite brand's equivalent) can be used to grease baking dishes, muffin pans, or squealing pigs at the county fair.  You can also use it in a lot of recipes, like pie crust and some cookies.  I like things that can handle lots of jobs.

Here's how to use it to handle the job of greasing a pan.  In this case, we're greasing a baking dish I used for fish, because that's when I thought to take the pictures, but the same principle applies to pretty much anything.

  1. Scoop a small dab of shortening out with your fingertips.  "Small" is key here.  If you're greasing individual muffin cups, a raisin-sized glob will get you through two, maybe three of them  (maybe more), especially if you only have to get the bottoms.  Don't worry about not getting enough--you can always go back for more.
  2. Smear it around in the bottom of the dish.  I tend to start at an edge, even though I know the middle would make more sense.  It doesn't matter.  Just smear it around the surface.  Like I said, if there's not enough, you can always add more.  But read the next step before you go spooning in handfuls of the stuff.
  3. I usually describe the layer of Crisco as "molecule-thick," but I've never measured it to be sure.  The real point is, don't slather on a thick white layer.  Shortening is a lubricant; if your fingers slide easily across the surface, you have enough.  If the surface has dry patches, smear some shortening in that direction. You'd be surprised how much area a little dab will cover.  If you're working with a glass dish, you'll still be able to see through it; things will just look a little more wavy and blurry.  If it's a metal pan, it will look like it has a little sheen, but the color will be unchanged.
You can see the shortening, but more importantly, you can see through it.

Close-up: a nice, even coat, with no globs or dry patches.
Now all you have to do is put something delicious in there, and add heat.

Thursday, March 7, 2013

Rhinoceros Sandwiches

The first time I made this for someone else, it was a family including three young kids.  I couldn’t find a boneless pork shoulder at the grocery, and when their dad saw me pull a long, pointy bone out of the crock pot at the end of the day, we started calling them Rhinoceros Sandwiches. Everyone since has agreed that this new name makes them better.  Somehow.

We start with a lesson in grocery shopping.  When I visited the third grocery store of the day (the other two both lacked what I felt are fairly obvious, common items, thus earning them my lasting enmity) and finally found pork shoulders (boneless, a bonus), I reached for the one that was 2.54 pounds, almost exactly what the recipe specified.  Then I saw a second one, right beside the first, whose identification was identical, but weighed a little over three pounds, and had a lower price.  It wasn’t older, it wasn’t green and fuzzy--it was just somehow mislabeled.  I don’t question these things, but I also won’t hesitate to take advantage of them.  I bought the bigger shoulder.

At the first grocery, I had bought an onion, but when I returned to the kitchen, I remembered we had some leftover red onion from some braised short ribs the Chief Taster had made.  At the time, I had told her that use of the remaining red onion was on her, because I was traumatized shortly after college by a pasta salad someone had made containing so much red onion--cut into very large chunks--that a cloud of red onion vapor hovered resolute over the bowl, bringing tears to the eyes of all who passed.  It should have been rechristened Red Onion Salad, but I digress.

Braised short ribs.  Not our topic today, but still tasty.
I decided that barbecue was a good use for red onion--the strong flavor actually works in that setting.  But I chopped it really small.

Not all of the red onion was harmed in the making of this meal.  Nor were any actual rhinoceroses.
I always take liberties with seasoning.  I like strong flavors.  Betty calls for a tablespoon of jerk seasoning and ¼ teaspoon of thyme.  Poppycock.  I shook Jamaican Jerk seasoning all over one side of the shoulder (after trimming away a lot of fat.  I know some people say that fat adds flavor, but I think fat just adds fat.  Jerk seasoning--that adds flavor.) and rubbed it in well.  Then I tossed on some thyme and rubbed that in, too.  Drop it in the crock pot, tasty side down, and repeat on the exposed surface.  I’m not saying you should dump in an entire jar; there is a limit to how much is right, but I put that limit somewhere well above a tablespoon for this much pork.

protip: rub in seasonings with one hand, keeping the other clean  to work the sink, open jars, etc.

Es la cola de Mexico.
Slow cooker recipes usually call for some amount of liquid, especially if all you’re really doing is cooking a big slab of meat.  In this case, the liquid is “cola.”  Use whatever regionalism you find most appropriate, but use something dark.  I lucked out at the second grocery and found Mexican soda.  They make it with real sugar down there, and there’s a difference.  I don’t know if it’s a difference you can taste in the pork, but I was excited to try it.  As I poured it in, I suddenly wished I had some rum.  Rum goes with Coke.  Rum is from Jamaica.  Using rum with Coke in a Jamaican Jerk Sandwich recipe seems like an obvious choice to me.  Sadly, we have no rum.


Finally, a little dash or three of hot sauce.  I remembered to add it about an hour after I started the pot cooking, so I think most of the heat will cook out and it should still leave some good flavor behind.  Individual sandwiches can easily be re-dosed.


After cooking, before shredding.
After ten hours in the Crock Pot, shredding the pork was a formality. I used a big slotted spoon to lift it out of the crock and into a large mixing bowl. I think that contains things a little better than the plate Betty suggests. I scooped as much of the onion as I could into the meat bowl, and poured the rest of the juices into a smaller bowl. Betty says you can reheat this for sandwich-dipping purposes, but really--who dips a barbecue sandwich? These bad boys are such a mess on their own you really don't need to dip them in anything, but you might want to eat over a plastic sheet if you are prone, as I am, to grossly overestimating the bun's capacity. I set aside those juices and pretty much forgot about them until it was time to do the dishes. Using two forks, I pulled apart the pork in the bowl, occasionally fishing out a big chunk of fat to discard. There was also a chunk of bone about the size of a golf ball. Throw that out, too. All the meat goes back in the crock with the barbecue sauce and 1/2 C of the juices in that forgotten bowl. If you think ahead a little further than I did, you'll realize that the amount of barbecuse sauce called for in the recipe is roughly a full bottle, and you can use that 1/2 C of juices to rinse out the bottle into the crock, to make sure you get it all. I forgot. My loss is your gain, kitchen cousins.

I didn't get pictures of the final product because by that point, I had run six miles, the entire apartment smelled like meat, and I was ravenous. Betty can show you the final product, in Betty's idealized world (link for the recipe is above). Everyone who had the pork that week, including the four-day-old leftovers Saturday night, returned good reviews. I was a little disappointed that I couldn't detect any hint of the hot sauce. Next time, I think I'll add that at the end, with the barbecue sauce. Hopefully we'll have some rum by then.